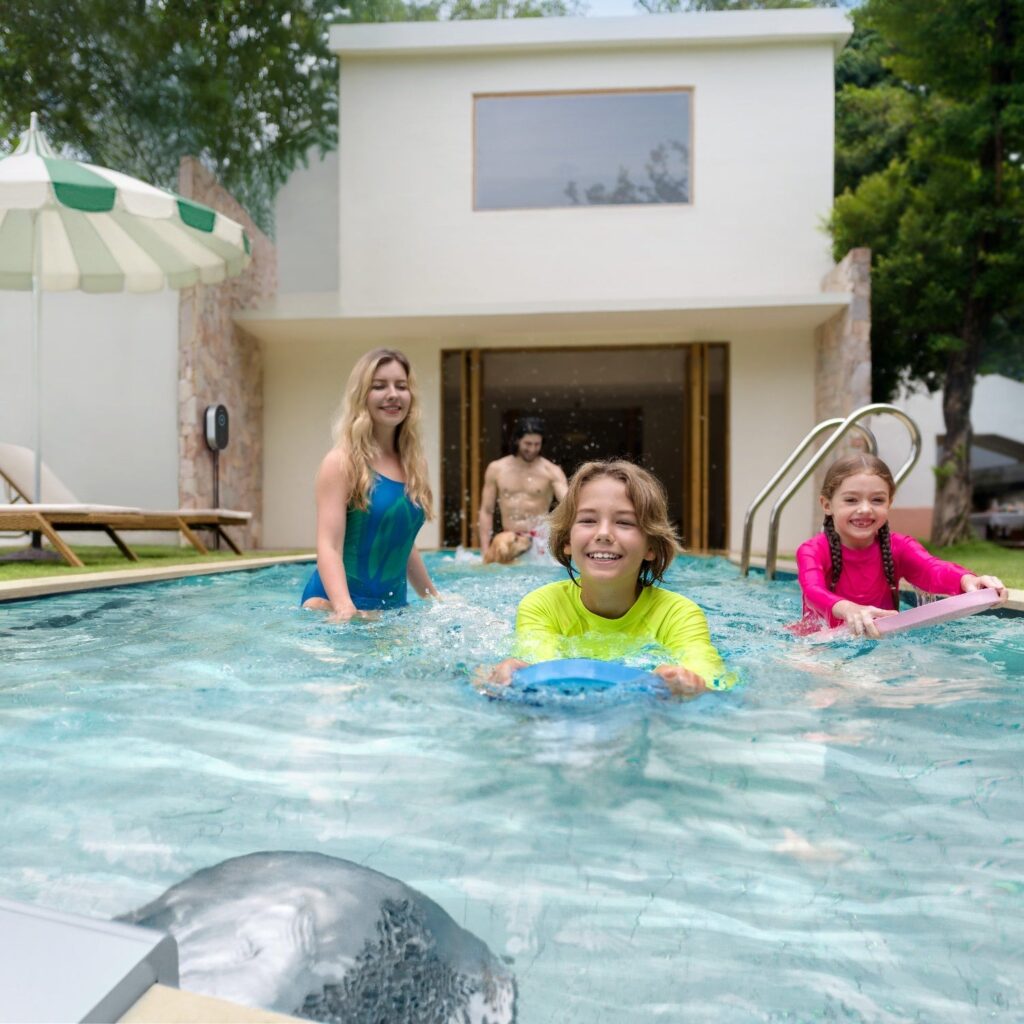
The demand for versatile backyard pools continues to surge, with homeowners increasingly seeking ways to transform their existing pools into personal fitness centers. Swim jets have emerged as a leading solution, delivering powerful, adjustable currents that enable lap swimming in pools of virtually any size. For pool contractors, this trend represents a significant business opportunity—but also a familiar challenge. Retrofitting high-performance swim jet systems into existing concrete decks has traditionally meant extensive demolition, prolonged project timelines, and the ever-present risk of damaging surrounding structures or underground utilities.
Modern deck-drilling technology changes this equation entirely. By employing precision core-drilling methods, contractors can now install swim jets with minimal surface disruption, dramatically reduced labor hours, and far greater accuracy in component placement. This article serves as a comprehensive guide for contractors looking to master this streamlined installation approach. From pre-installation planning through final testing, we’ll walk through the process of integrating high-performance swim jets—specifically systems engineered for deck-drilled applications—into existing pool environments. The result is a faster, cleaner, and more profitable installation workflow that delivers exceptional results for clients.
Understanding Swim Jets and The Deck-Drilling Advantage
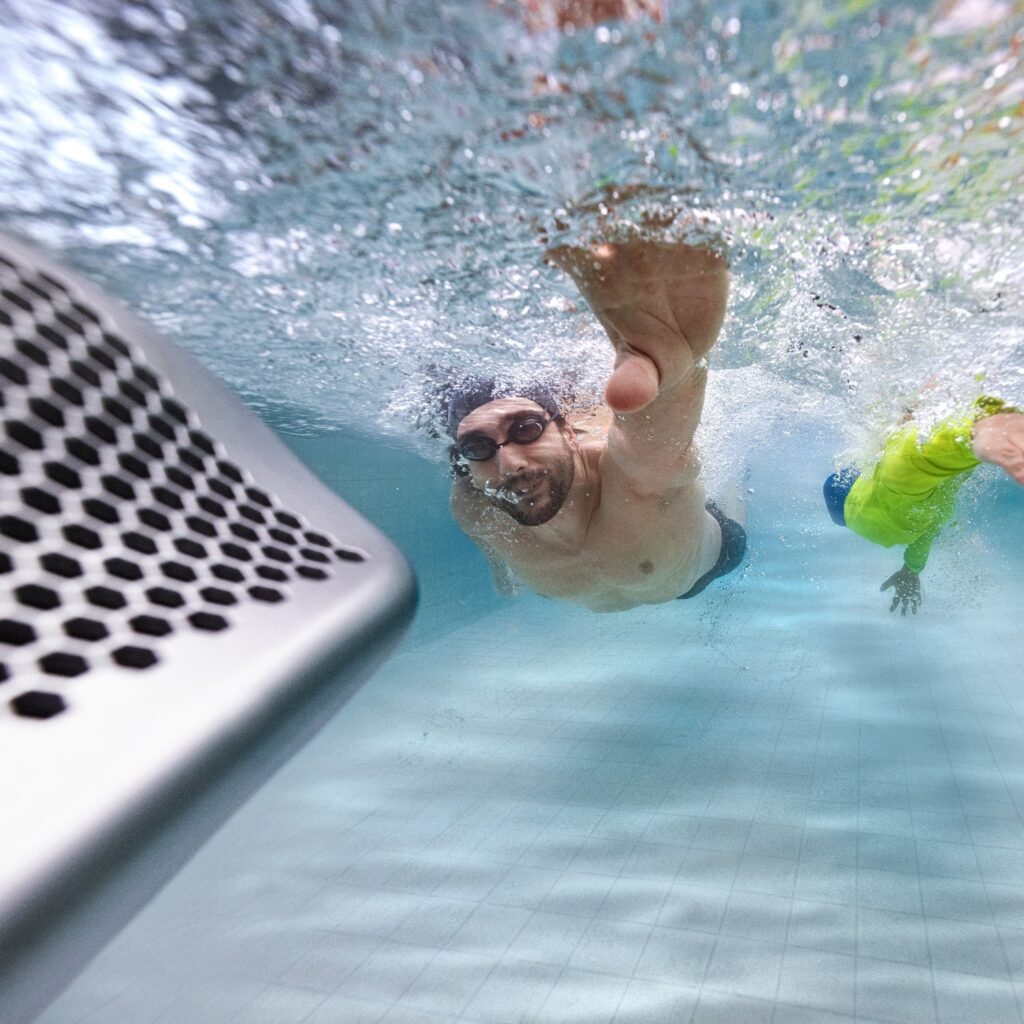
A pool swim jet is a motorized system that generates a continuous, adjustable stream of water against which swimmers can stroke in place—effectively turning any pool into an endless lap pool. These systems typically consist of a pump unit, intake fittings, and directional nozzles that produce currents strong enough to challenge competitive swimmers while remaining tunable for recreational use or aquatic therapy.
Traditional swim jet installations have long been a contractor’s headache. The conventional approach requires sawcutting and removing large sections of concrete decking, excavating trenches for plumbing runs, and then rebuilding the deck surface after the system is in place. This process often spans multiple days, generates significant debris, and carries inherent risks—cracking adjacent deck sections, disturbing existing pool plumbing, or compromising the structural bond between the deck and the pool shell.


Deck-drilling fundamentally reimagines this workflow. Using diamond-tipped core drills, contractors create precise circular penetrations through the existing deck at exact locations needed for jet bodies, suction lines, and return fittings. The surrounding concrete remains completely intact and structurally sound. Because the holes are cut to exact specifications—matching the swim jet housing dimensions within millimeters—there’s no need for extensive patching or surface reconstruction afterward. Labor time drops from days to hours in many cases. The deck retains its original load-bearing capacity since material removal is limited to only what’s necessary for component placement. For contractors focused on delivering efficient, high-quality retrofits, this precision approach eliminates the variables that typically inflate project costs and timelines while reducing callbacks related to settling, cracking, or cosmetic imperfections in rebuilt deck surfaces.
See also: How Proactive Exterior Maintenance Helps Homeowners Avoid Bigger Repair Bills
Pre-Installation Planning and Essential Tools
Thorough pre-installation planning separates a seamless swim jet retrofit from a costly nightmare. Before any drill touches concrete, contractors must invest time in site assessment and system selection—this upfront discipline pays dividends in execution speed and client satisfaction.
The deck-drilling toolkit differs significantly from conventional demolition equipment. A hydraulic or electric core drill rated for reinforced concrete is the centerpiece, paired with diamond-tipped bits sized to match specific jet housing diameters. A wet/dry vacuum system manages slurry and debris in real time, keeping the work area clean and preventing material from entering the pool. A rotary laser level ensures all penetration points align precisely with the pool’s waterline and the jet system’s optimal mounting height. Ground-penetrating radar or a quality rebar locator is non-negotiable—contractors must scan every drilling location to identify rebar patterns, existing plumbing runs, electrical conduits, and post-tension cables before committing to a hole position.
Site assessment extends beyond the deck itself. Evaluate the pool’s existing circulation system, available equipment pad space, and electrical capacity to support the new pump. Measure the pool’s dimensions and depth at the intended jet location, as these factors directly influence system selection. For smaller pools or clients prioritizing fitness swimming, the X Series swim jets deliver concentrated, high-velocity currents ideal for serious lap training. The P Series suits broader applications, offering versatile flow characteristics that accommodate everything from resistance swimming to gentle therapy currents. Matching the right system to the client’s pool geometry and intended use ensures optimal performance and positions the installation as a true turnkey pool solution from day one.
Step-by-Step Installation Guide for Deck-Drilled Swim Jets
Step 1: Precise Marking and Pilot Hole Creation
Accurate marking is the foundation of every successful deck-drilled swim jet installation. Begin by positioning the manufacturer-supplied drilling template on the deck surface, aligning it with the pool’s waterline and the predetermined jet mounting location. Secure the template with concrete anchors or heavy weights to prevent shifting during marking. Transfer all drilling points—intake, return, and jet body center—onto the concrete using a permanent marker or chalk line. With marks confirmed against your laser level readings, start with a small-diameter pilot hole at each location, drilling to approximately two inches deep. This pilot confirms the deck’s thickness, reveals aggregate composition, and provides an early warning if rebar or an unexpected utility line sits in the drill path. If an obstacle appears, reposition slightly using the template’s allowable offset range before committing to full-diameter penetrations.
Step 2: Core Drilling the Main Openings
With pilot holes verified clear, mount the core drill rig over the first penetration point, ensuring the base plate is shimmed level on the deck surface. Attach the diamond-tipped bit matched to the jet housing diameter and engage the water feed to lubricate the cut and suppress dust. Begin drilling at low RPM to establish the kerf, then increase speed steadily as the bit advances through the concrete. Maintain constant vacuum suction at the hole perimeter to capture slurry before it spreads across the deck or drains into the pool. Drill each opening to the full deck depth, then carefully extract the concrete core. Inspect the hole walls for smoothness—any rough edges or protruding aggregate should be dressed with a grinding attachment to ensure the jet housing seats flush. Repeat this process for all intake and return penetrations, checking dimensional accuracy with calipers after each cut.
Step 3: Installing the Jet Unit and Plumbing Connections
Lower the swim jet unit—such as an X Series system—into the primary opening, confirming that the housing sits at the correct depth relative to the pool’s waterline. The unit should rest securely with its flange contacting the deck surface evenly on all sides. Next, route suction and return plumbing through their respective drilled channels, using flexible PVC or schedule 40 pipe as specified by the manufacturer. Dry-fit all connections first to verify alignment and pipe lengths, then solvent-weld joints systematically from the pump pad back toward the pool. Secure pipes within the drilled passages using foam inserts or expansion grommets that prevent movement while allowing slight thermal expansion. Confirm that all connections maintain proper fall for drainage and that no fittings are stressed or forced into position.
Step 4: Integrating the Patented Flow Channel and Sealing
The patented flow channel is what distinguishes engineered swim jet systems from generic aftermarket solutions. This internal channeling architecture straightens and accelerates water delivery from the pump to the nozzle, dramatically reducing turbulence and energy loss. During installation, align the flow channel assembly according to the directional indicators molded into the housing—proper orientation ensures the current exits parallel to the pool’s longest axis for optimal swimming resistance. Once positioned, seal every deck penetration using marine-grade, flexible polyurethane sealant rated for continuous water exposure. Apply sealant generously around the jet housing flange, pipe grommets, and any gap between the drilled hole wall and the installed component. Smooth the sealant flush with the deck surface for a clean appearance and to prevent water pooling. Allow full cure time before pressurizing the system—rushing this step is the single most common cause of post-installation leaks that lead to callbacks and deck deterioration.
Choosing the Right Product: X Series vs. P Series Swim Jets
Selecting the appropriate swim jet system for each project is as important as the installation technique itself. Contractors who understand the distinct characteristics of available product lines can make confident recommendations that match client expectations, pool configurations, and performance requirements—ultimately reducing post-installation adjustments and maximizing referral potential.
The X Series swim jets are engineered for dedicated fitness swimmers who demand a powerful, focused current capable of simulating open-water resistance. These units produce a concentrated, high-velocity stream with a tight flow pattern that challenges even conditioned athletes. The X Series excels in narrower pools or dedicated swim lanes where the current must remain cohesive over distance without dispersing laterally. Its compact jet body is specifically dimensioned for deck-drilled installations, meaning the core hole diameter stays manageable and the housing seats cleanly within standard deck thicknesses. The integrated patented flow channel within the X Series straightens water delivery internally before it exits the nozzle, eliminating the swirling turbulence that plagues less refined systems and creating a swimming experience that feels remarkably like moving through still water at speed.
The P Series takes a broader approach to current delivery, producing a wider flow envelope that suits diverse applications. Families who want resistance swimming during the week and gentle relaxation currents on weekends find the P Series ideal. Its adjustable output accommodates aquatic therapy, children’s swim training, and moderate fitness use without overwhelming less experienced swimmers. The wider current profile also performs better in larger or irregularly shaped pools where a narrow jet stream might miss the swimmer’s body during minor positional shifts. From an installation standpoint, the P Series shares the deck-drilling compatibility of the X Series, with housing dimensions designed for clean core-drilled penetrations and straightforward plumbing integration.
When advising clients, contractors should consider pool width, primary use case, and swimmer ability. A pool under twelve feet wide with a dedicated fitness user points clearly toward the X Series. Broader pools serving multiple family members with varied aquatic goals align better with the P Series. Both systems incorporate the patented flow channel technology that minimizes energy waste and maximizes usable current strength at the swimmer’s position, ensuring that regardless of the model selected, the installation delivers professional-grade performance through a streamlined deck-drilled workflow.
Avoiding Common Pitfalls and Ensuring a Professional Finish
Even experienced contractors encounter avoidable errors when transitioning to deck-drilled swim jet installations. The most frequent mistake is rushing through the planning phase—skipping a thorough rebar scan or failing to verify deck thickness at every drilling point. A single misplaced hole that intersects a post-tension cable can result in thousands of dollars in structural repair, far exceeding any time saved by cutting corners. Always complete two independent scans of each penetration location before drilling begins.
Incorrect hole sizing ranks as the second most common issue. Drilling even slightly undersized creates a situation where the jet housing must be forced into position, cracking the surrounding concrete and compromising the seal. Oversized holes leave gaps that sealant alone cannot reliably bridge over time, eventually leading to water migration beneath the deck. Verify bit diameter against manufacturer specifications before every cut, and measure the finished hole with calipers rather than relying on visual assessment.
Poor sealing technique accounts for the majority of post-installation callbacks. Applying sealant to damp surfaces, using incompatible products, or failing to fill the full depth of the gap between housing and concrete all invite leaks that worsen progressively. Clean and dry every joint surface thoroughly, apply sealant in continuous beads without voids, and respect the manufacturer’s stated cure time regardless of project schedule pressure.
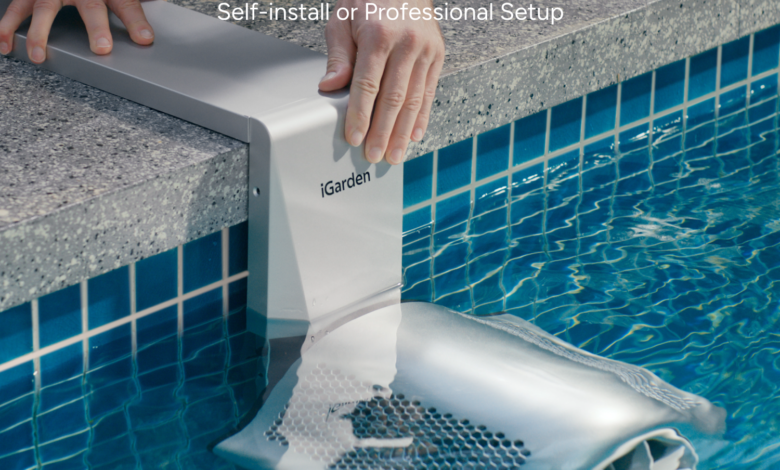
Post-installation testing should follow a deliberate sequence: pressurize plumbing connections first with the pump off to check for static leaks, then run the system at low speed while inspecting every penetration point and fitting. Listen for vibration or cavitation sounds that indicate air intrusion or misaligned components. Finally, verify flow direction and current strength at the swimming position. Many homeowners who invest in swim jets are also integrating smart home platforms like iGarden to manage their pool equipment alongside lighting, heating, and irrigation from a single interface—so contractors should ensure the jet system’s controls are compatible with common automation protocols. For a professional deck finish, dress any minor surface chips around penetrations with color-matched concrete patch compound, then apply a matching texture coating so the installation points blend invisibly with the surrounding deck surface.
Delivering Turnkey Swim Jet Retrofits with Precision Deck-Drilling
Deck-drilling has fundamentally transformed how contractors approach swim jet retrofits, replacing the disruption of traditional sawcutting and excavation with a precise, efficient workflow that preserves deck integrity while dramatically compressing project timelines. The process follows a clear progression—thorough site assessment and rebar scanning, accurate template marking with pilot hole verification, clean core drilling with proper slurry management, secure unit placement with correct plumbing integration, and meticulous sealing that prevents callbacks.
The quality of the installed hardware matters as much as the installation technique itself. Purpose-built systems like the X Series and P Series swim jets, engineered specifically for deck-drilled applications and incorporating patented flow channel technology, deliver the turbulence-free, powerful currents that justify the investment for homeowners. When contractors pair precision drilling methods with these performance-optimized products, the result is a reliable installation that generates client referrals rather than service calls. Mastering this approach positions contractors to offer truly turnkey pool solutions—meeting the growing homeowner demand for fitness-capable backyard pools without the extended timelines and invasive construction that once defined swim jet installations.